
You know that your iPhone is constantly sending and receiving various data, from texts to website cache. However, you don’t always see what’s happening under the hood. Unlike a Mac, it doesn’t have a dedicated Activity Monitor where you can track background processes. For developers and testers, that’s a problem. Whether you’re debugging an app, analyzing API requests, or monitoring network traffic, you need a way to inspect what’s happening in real time. And that’s where you might need Charles Proxy for iOS.
Setting it up isn’t as simple as installing an app. You’ll need to configure your network settings, install SSL certificates, and adjust proxy settings to start capturing traffic. We’ll walk you through every step.
What is Charles Proxy?
Charles Proxy is a web debugging tool that allows developers to monitor network traffic between their devices and the internet. It acts as an intermediary that enables the inspection and modification of requests and responses. The platform is helpful for developers who debug network requests, analyze API interactions, and verify compliance with data transmission security standards.
Note: Some iOS applications implement SSL certificate pinning, a security measure that prevents interception of their traffic, even with tools like Charles Proxy. Also, changes in iOS updates can affect the functionality of proxy tools.
How To Set Up Charles Proxy on iPhone
Time needed: 20 minutes
The process is a bit complex, so please follow the instructions carefully. Otherwise, you might damage your devices. Before proceeding, prepare your Mac (or PC) and iPhone.
- Open the Charles application on your computer and select Proxy menu > Proxy Settings.
- In the Proxies tab, confirm that the HTTP Proxy is enabled and note the Port number (default is 8888).

- Go to Proxy > SSL Proxying Settings.
- Tick the box for Enable SSL Proxying.
- Click Add and enter *in the Host field and* in the Port field to capture all SSL traffic.
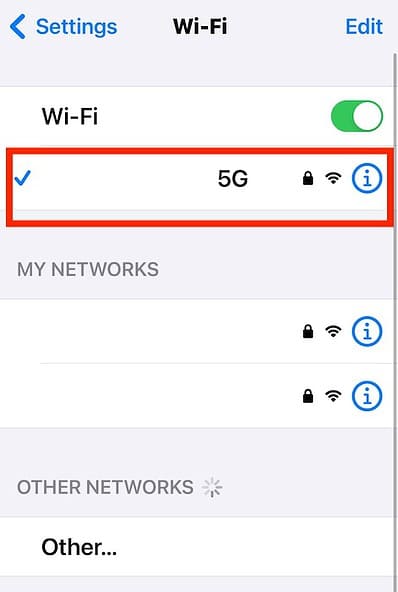
- On your iOS device, go to Settings > Wi-Fi.

- Verify that you’re connected to the same network as your computer.
- Tap the information icon (i) next to your connected Wi-Fi network.
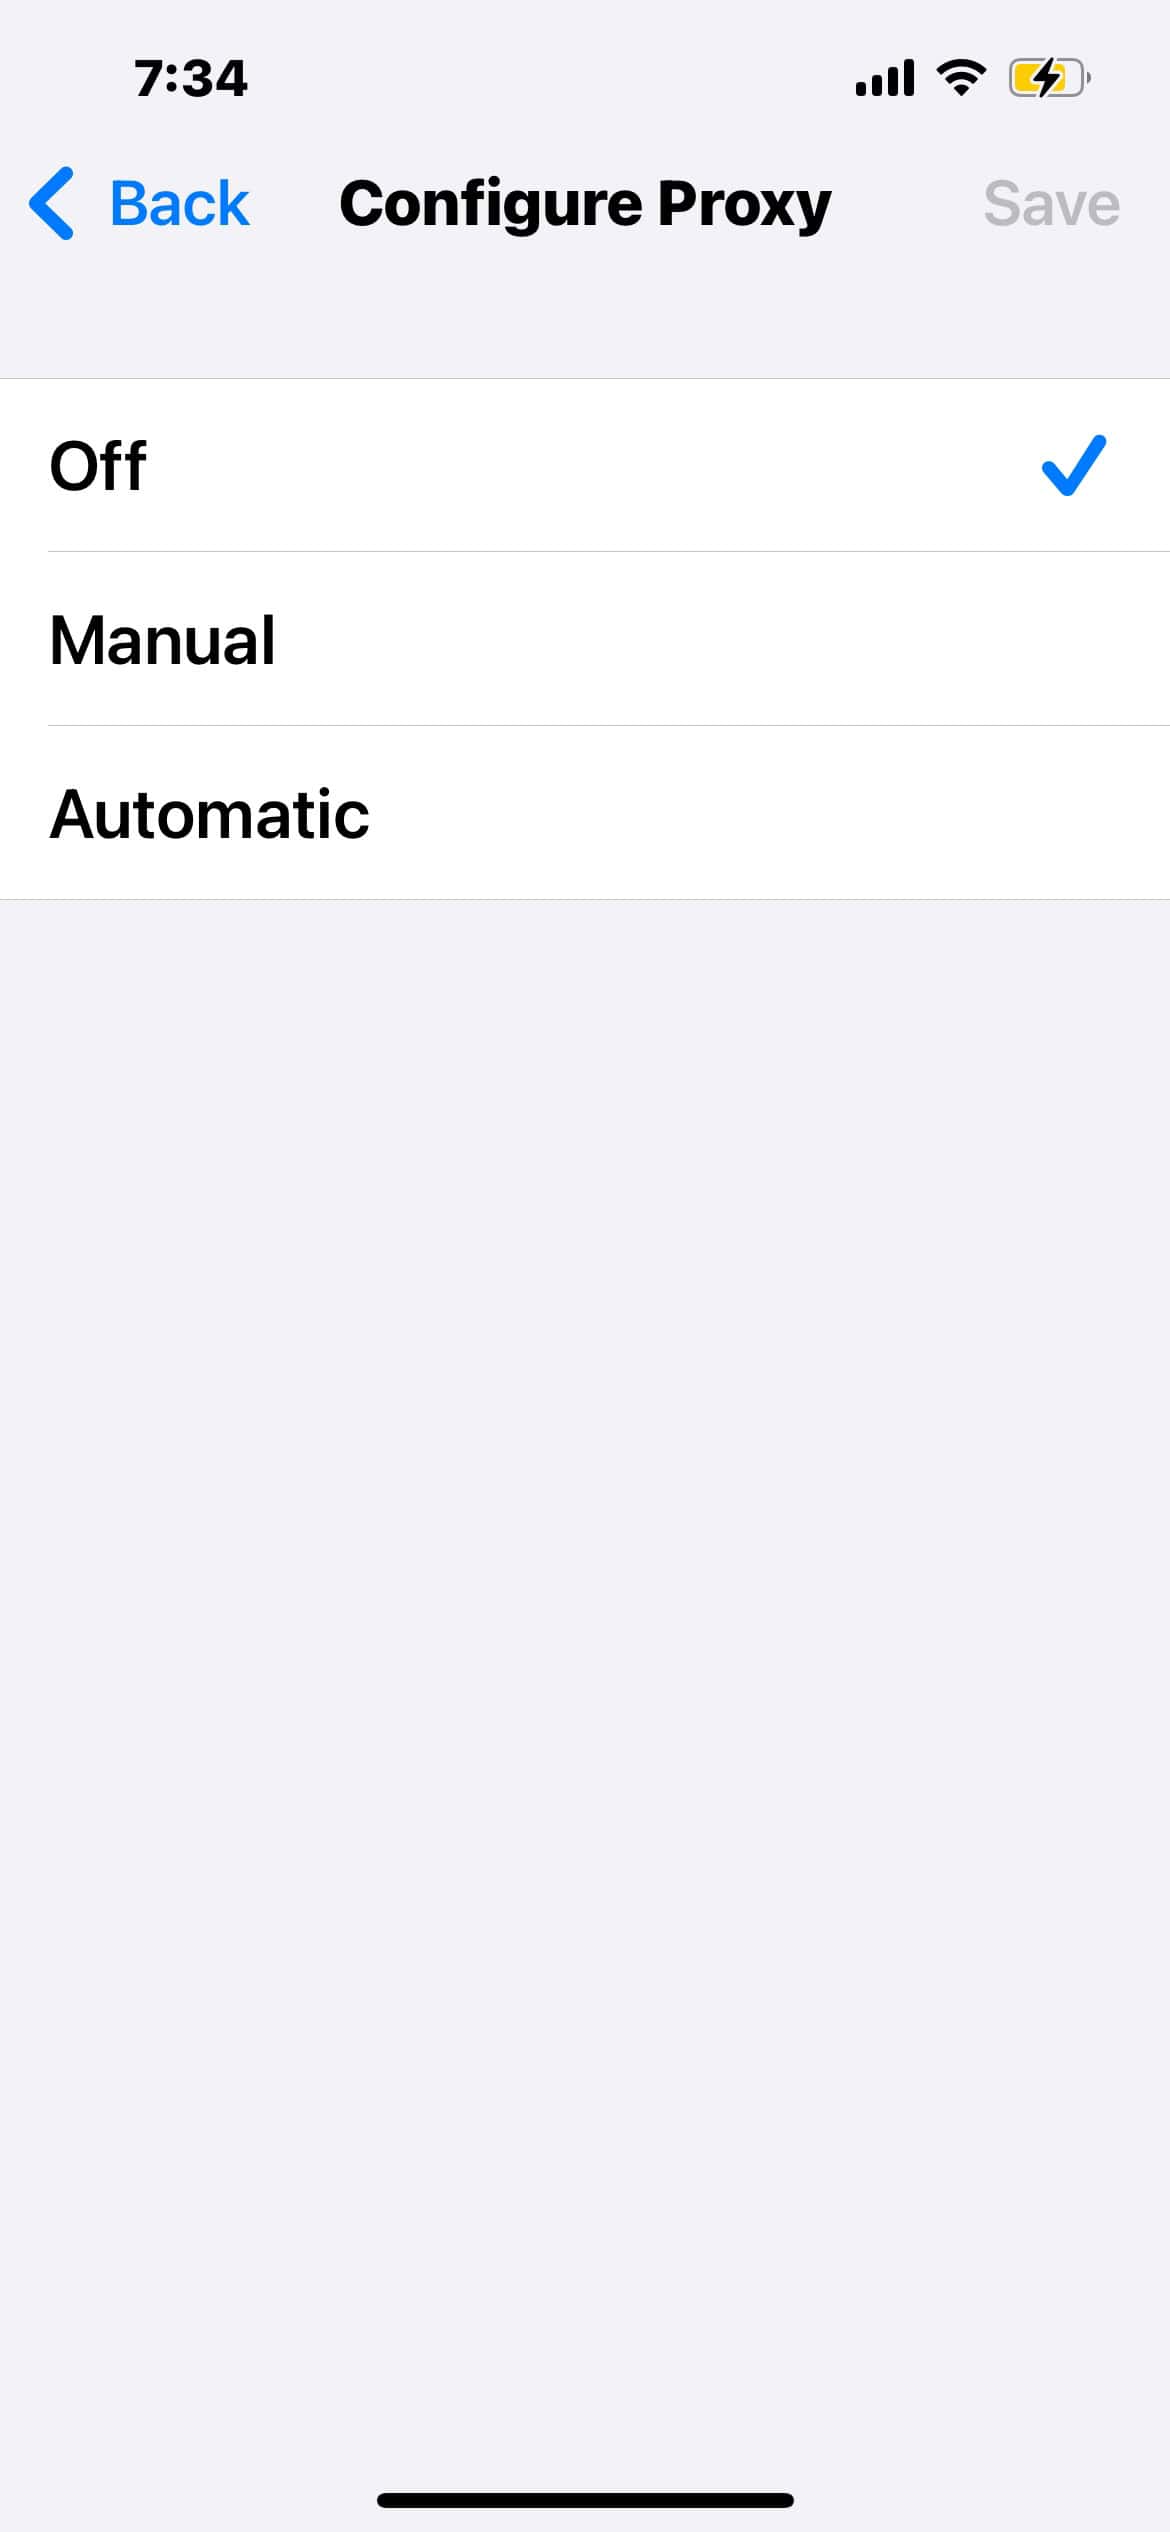
- Scroll down to HTTP Proxy and select Manual.

- In the Server field, enter the IP address of your computer (find this in Charles under Help > Local IP Address).
- In the Port field, enter the port number noted earlier (default 8888).
- Leave Authentication set to Off.
- On your iOS device, open Safari and go to http://chls.pro/ssl.
- When prompted, download the configuration profile.
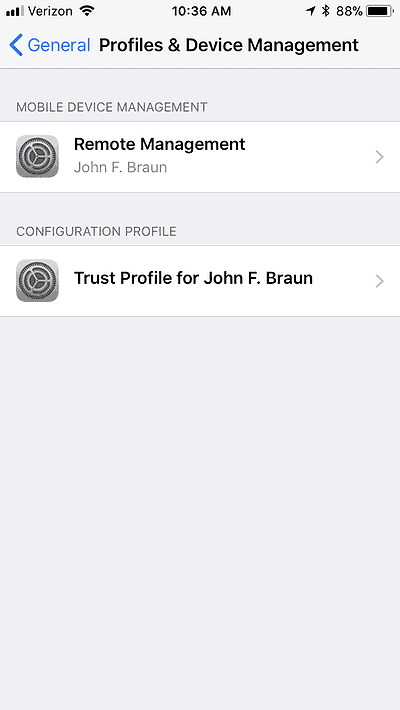
- Go to Settings > General > Profile (or Profiles & Device Management).
- Tap on the Charles Proxy CA profile and select Install.
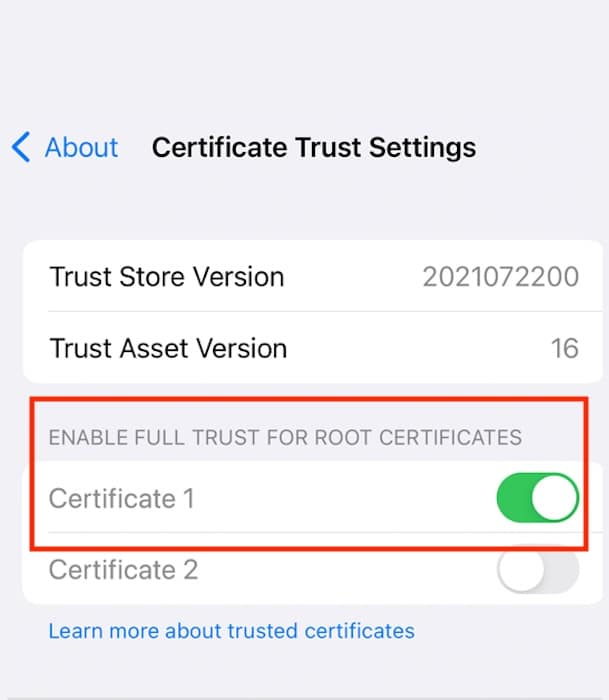
- After installation, navigate to Settings > General > About > Certificate Trust Settings.
- Enable full trust for the Charles Proxy CA certificate.

- Go back to your computer. When your iOS device attempts to connect, Charles will prompt you to allow the connection.
- Select Allow.
- On your iOS device, open Safari and navigate to any website.
- In Charles, you should see the network traffic from your device being logged.


How To Fix Common Errors When Setting up Charles Proxy on iOS
Even after setting up Charles Proxy correctly, you might run into errors where traffic isn’t being logged or certain apps stop working. Here’s how to fix the most common issues:
Charles Proxy Isn’t Logging Any Traffic
If Charles isn’t capturing network activity, your device might not be routing traffic through the proxy.
- Make sure your iPhone and Mac are connected to the same Wi-Fi network.
- Open Settings > Wi-Fi on your iPhone, tap the information icon (i) next to your network, and verify that HTTP Proxy is set to Manual with your Mac’s local IP address and port
8888. - Restart both your iPhone and Charles Proxy.
- Disable any active VPNs or iCloud Private Relay, as these can block traffic routing through Charles.
HTTPS Requests Missing in Charles
Since most modern apps and websites use HTTPS, Charles needs additional configuration to intercept encrypted traffic.
- In Charles, go to Proxy > SSL Proxying Settings.
- See if Enable SSL Proxying is checked.
If HTTPS requests still don’t appear, reinstall the Charles SSL certificate:
- Go to Settings > General > Profile & Device Management, tap Charles Proxy CA, and install it.
- Enable full trust in Settings > General > About > Certificate Trust Settings.

Wi-Fi Stops Working After Configuring Charles Proxy
The proxy settings might be misconfigured if your iPhone can’t connect to the internet after the setup.
- Open Settings > Wi-Fi, tap the information icon (i) next to your network, and reset the HTTP Proxy setting to Automatic.
- Restart your iPhone and turn off Charles Proxy on your Mac.
- If the issue persists, go to Settings > General > Profile & Device Management, remove the Charles Proxy CA certificate, and reinstall it.
Unfortunately, Apple doesn’t officially support third-party proxy tools, so they won’t troubleshoot anything related to modifying network traffic. You can refer to the Charles Proxy FAQ section if you get lost. You’ll also have to reset the network configurations yourself if you accidentally break your Wi-Fi or SSL settings.