
Macs are notorious for offering paltry storage with upgrades costing hundreds of bucks. This can be a major issue for users who want to run large apps and play AAA games on entry-level Macs with a measly 256GB of storage. Fortunately, there’s a way to overcome this limitation. You can install and run macOS apps on an external drive instead of storing them locally. Here’s how you can do it.
How to Install App Store Apps on an External Drive
 NOTE
NOTE
Time needed: 2 minutes
Starting with macOS Sequoia 15.1, Apple offers a built-in option to automatically install any App Store app larger than 1GB on a selected external drive. Any applications installed with this method are conveniently added to the Applications folder when you reconnect your external disk. Here’s how you can enable this:
- Connect the external drive to your Mac.
- Locate and open the App Store on your Mac.
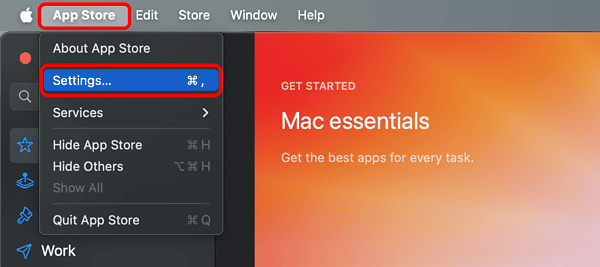
- In the menu bar, click on App Store and select Settings.

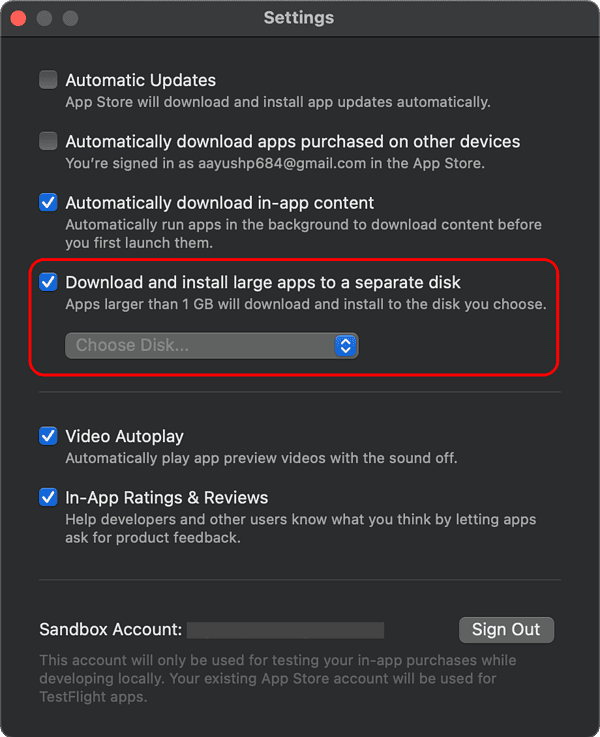
- Check off Download and install large apps to a separate disk.
- Now, click on the Choose Disk dropdown and select your external drive.

As long as the external drive is connected to your Mac, large apps from the App Store will be installed on it. However, if you try installing an app after unplugging the drive, you’ll run into a Cannot Download and Install App error. You may click Download & Install to Disk to install the app on your Mac’s internal disk.
How to Install DMG Apps on an External Drive
If you want to store large DMG apps on your external drive, you’ll have to do it manually, either by moving your existing apps onto the drive or by installing new apps directly onto it. You can then create an alias (shortcut) for the app and add it to any location of your choice for quick access. Here’s how it all works:
- Connect the external drive to your Mac.
- Run the DMG installer for the app you want to install on your drive.
- Drag the app’s icon onto the external drive instead of the Applications folder.
(If you’ve already installed an app, go to Applications and drag it onto the drive.)
- Once the app is installed, open the Finder and select the external disk from the sidebar.
- Control-click on the App you just installed and select Make Alias from the resulting menu.

- You can drag the resulting alias onto the Mac’s desktop or Dock to launch the app quickly.


With your large apps now installed on an external drive, you can access them anytime by simply connecting the drive to your Mac. The system will treat them like any other app without requiring you to free up disk space. Additionally, if you plug the external disk into another Mac, you can run your apps there as well.